
Good Morning Everyone and welcome to our fourth 5 Minute Friday
This week I want you to cut some plants back and give them a freshen up with some new soil and pot.
We have got to the time of year where it is easy for plants to look a bit scruffy, especially the ones that have come through a long winter. So go into the garden and see if you can neaten up some plants.
Okay let’s start
What you need:
- A plant to cut back
- A good pair of secateurs
- A pot that is slightly bigger than the current one your plant is in (if it is not in the ground)
Step 1
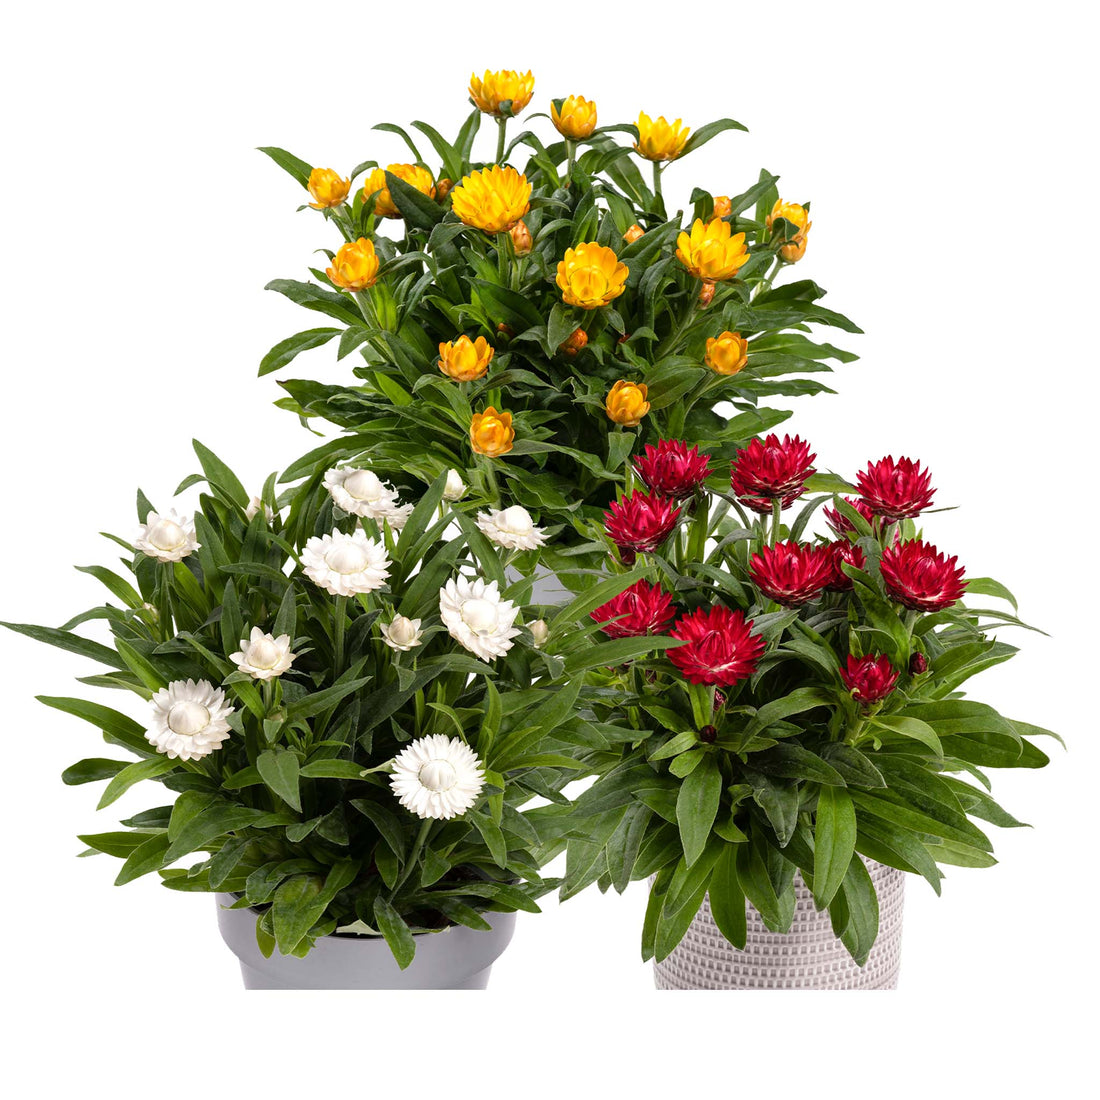
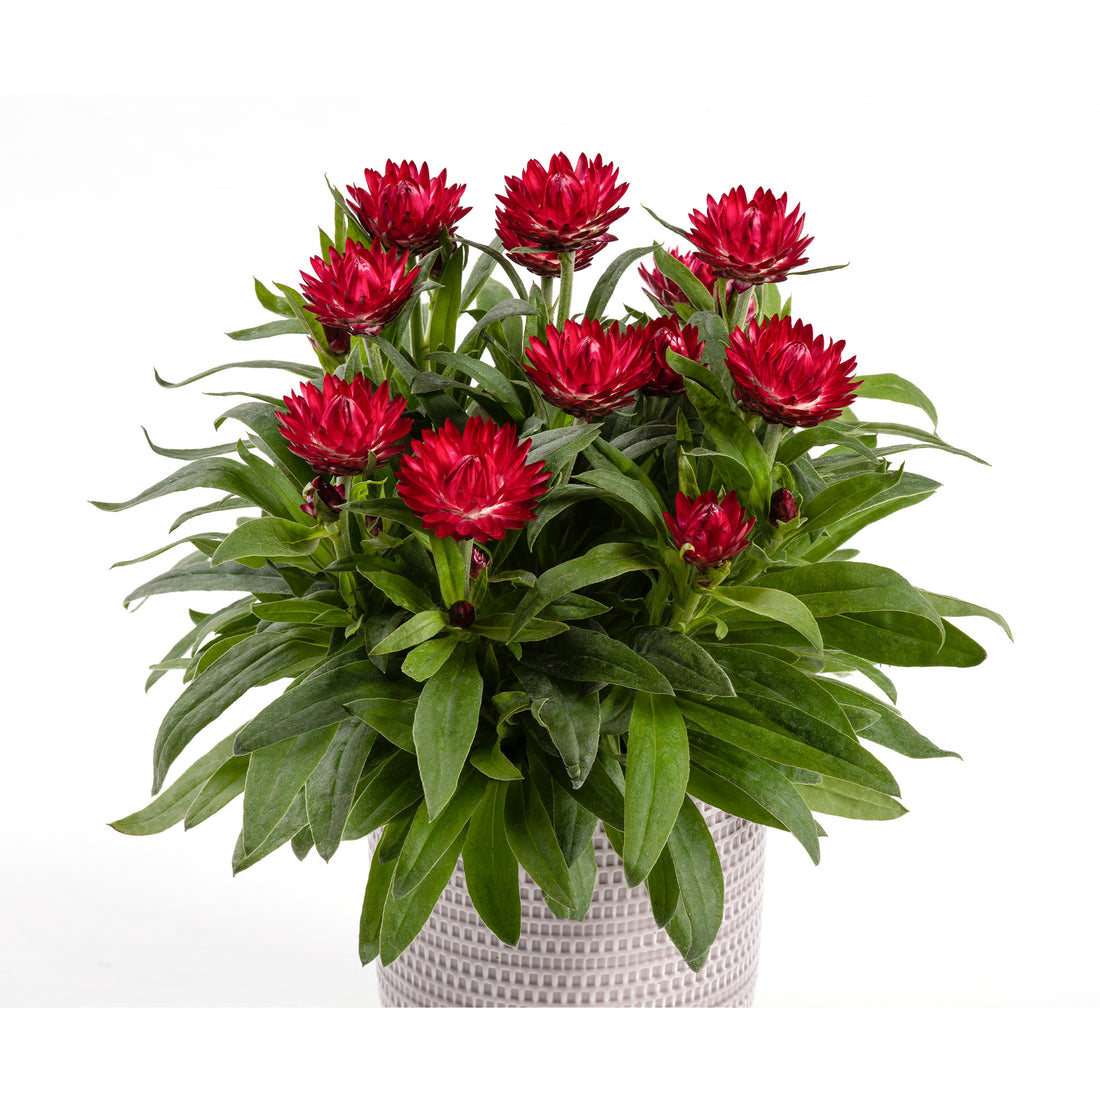
First, we need to find a plant that needs a bit of cutting back. In the video, I used a cotton lavender. So many plants react well to being cut back to improve them. Almost all herbs benefit from it and a huge amount of perennial plants too. One good way to tell is that if you have a plant that is looking a bit straggly and has what appears to be "dead growth" take a look in the center of the plant. If the plant is putting out fresh growth and new shoots from the stems it will almost certainly like being cut back
Step 2
Now you have found your plant it's time to start cutting the plant back. REMEMBER THE GOLDEN RULE! Once you have cut a stem off your plant, you can't put it back. Because of this, we like to take it slow and steady. That is the main reason this 5-minute video is longer than 5 minutes. What we like to do on the nursery is select the part of the plant that we think should be cut off and pull it to one side. By doing this you are checking the plant still looks right after you have cut the stem off. It is well worth checking the video out for this step.
Step 3
This step is the same as step 2. When cutting back plants you work your way around the plant cutting the stems back as you go. Remember to take your time.
Step 4
Once you have cut the plant back to the shape and height you are happy with if your plant it in a pot it is time to repot it with some fresh compost. Don't be tempted to choose a pot that is much larger. Go for one that is just a little bit bigger but will still allow your plants to spread their roots a bit into the fresh compost.
Step 5
Take your plant out of its current pot. If the plant has been in there for a bit of time it can be tricky. Plastic pots are easier as you can squeeze them and release the plant. If your plant is in a clay pot sometimes sliding something down the side of the pot can help.
Step 6
When your plant is in the new pot you want it to sit around the same height in the pot as it was in the old pot. To do this first put the right amount of compost in the base of the pot to get your height right. This can take a bit of lifting in and out but you will get there.
Step 7
Now, all that is left is to add some fresh compost around the sides of the plant, Take care not to compact the compost down too much. When you think you have finished this is a good time to water the plant. At this stage, it is quite common for the fresh compost to sink a bit. If that happens just top it up a bit.
You're done.
It is amazing how much a plant with thank you for a cutback and some fresh soil and it's always nice to get your hands dirty.
Take care and stay safe.
Alan Lodge
Partner, Newlands Nursery