
Today on this week's Five Minute Friday, we're going to add a bit of height to your garden with a stunning Thunbergia tower. These climbing beauties are real showstoppers, with their vibrant blooms and long flowering period. This is a plant that will really brighten up your summer.
What Do We Need?
Before we start, we'll need to gather some supplies.
-
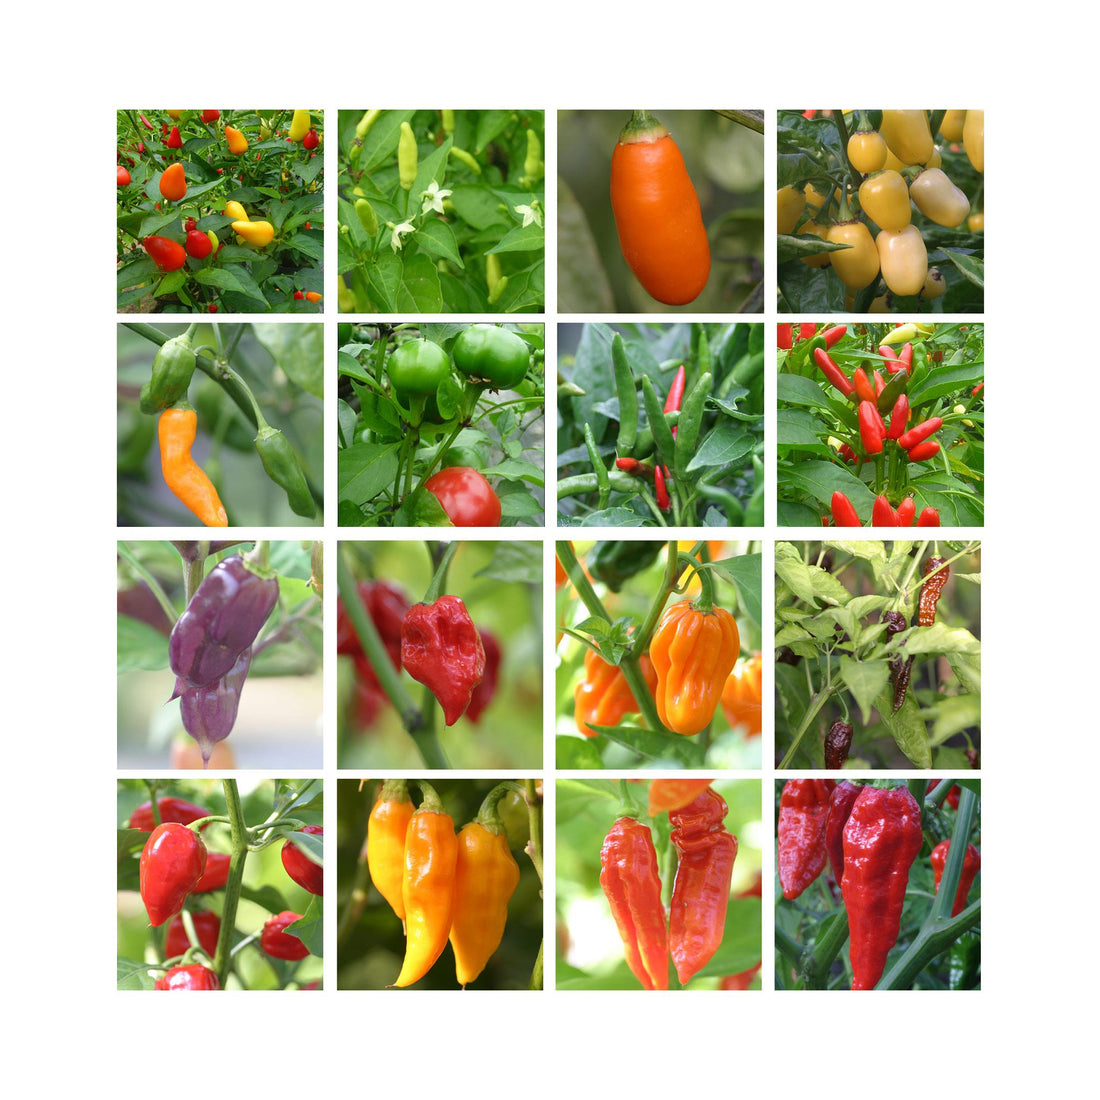
Your Plants: I know this seems obvious, but you're going to need some Thunbergia plug plants. You can start these from seeds too, but this early in the season, I start them from plugs to get a bit of a head start. When it comes to varieties, it's really a case of choosing your favourite colours. You can plant one colour in the pot or a mixture.
-
Some Compost: Good quality multi-purpose compost is a must. This will help the plants grow at their best all summer long.
-
A Container: When choosing a pot, it's always best to go for one that fits your style. Your pot or container must have drainage holes in the base to stop your plants from sitting in waterlogged soil. Another consideration, which may be worth thinking about, is the material of the pot. If you may have to move the container, make sure you choose a lighter material such as plastic. Concrete pots, for example, can be very heavy.
-
Some Plant Supports: This can be bamboo canes, trellis, or anything that will support your plants as they grow.
Potting Your Thunbergia Container Up: A Step-by-Step Guide
1. Add Compost: The first step is to fill your container with compost, leaving it about 1cm from the top. This will help with watering.
2. Make Your Planting Holes: The pot I'm using in the video is 20cm in diameter. This is perfect for three plug plants. First, locate the centre of the compost, and then imagine a triangle with the centre of the compost in the middle. Make three holes in the compost at the points of the triangle. Make these very slightly larger than the root ball on your plug plant.
3. Plant the Plug Plants: Now to plant the plug plants. Place one in each hole and then tuck the plants in. This is done by backfilling with some compost to get rid of any gaps between the root ball and the compost.
4. Adding Your Supports: In the video, I'm using canes to support my plants. I first push one cane behind each plug plant. This will create a triangle of canes inside the triangle of plug plants. I then take the top of the canes and tie them together to create a wigwam. You can tie with string, wire, or even cable ties.
5. Now to Water Your Plants: Now water your plants well. The best way to do this is to water over gently, allow that water to sink in, and then repeat the process until the compost is nice and moist. A good way to tell this is if you start to see water coming out the bottom of the pot.
Stand Back and Admire Your Thunbergia Tower
Now take a step back and admire your handiwork. As the days and weeks pass, keep an eye on the watering of your tower. Keep the compost moist but not too wet. It is well worth feeding your plants every couple of weeks to encourage healthy growth and more flowers. As the plants grow, you may have to encourage the plants to grow up the supports. Do this by winding the new growth around the support. Thunbergia is not frost hardy, so depending on the weather, you may need to keep them inside until the risk of frost has passed.