
Replacing Tender Bedding Plants In A Planted Container
This week I’m replacing the tender plants in a container I planted for a previous 5 Minute Friday. This will allow me to bring the tender plants inside and away from the frost, as well as giving me the opportunity to enjoy a colourful container all winter long.
Why Now?
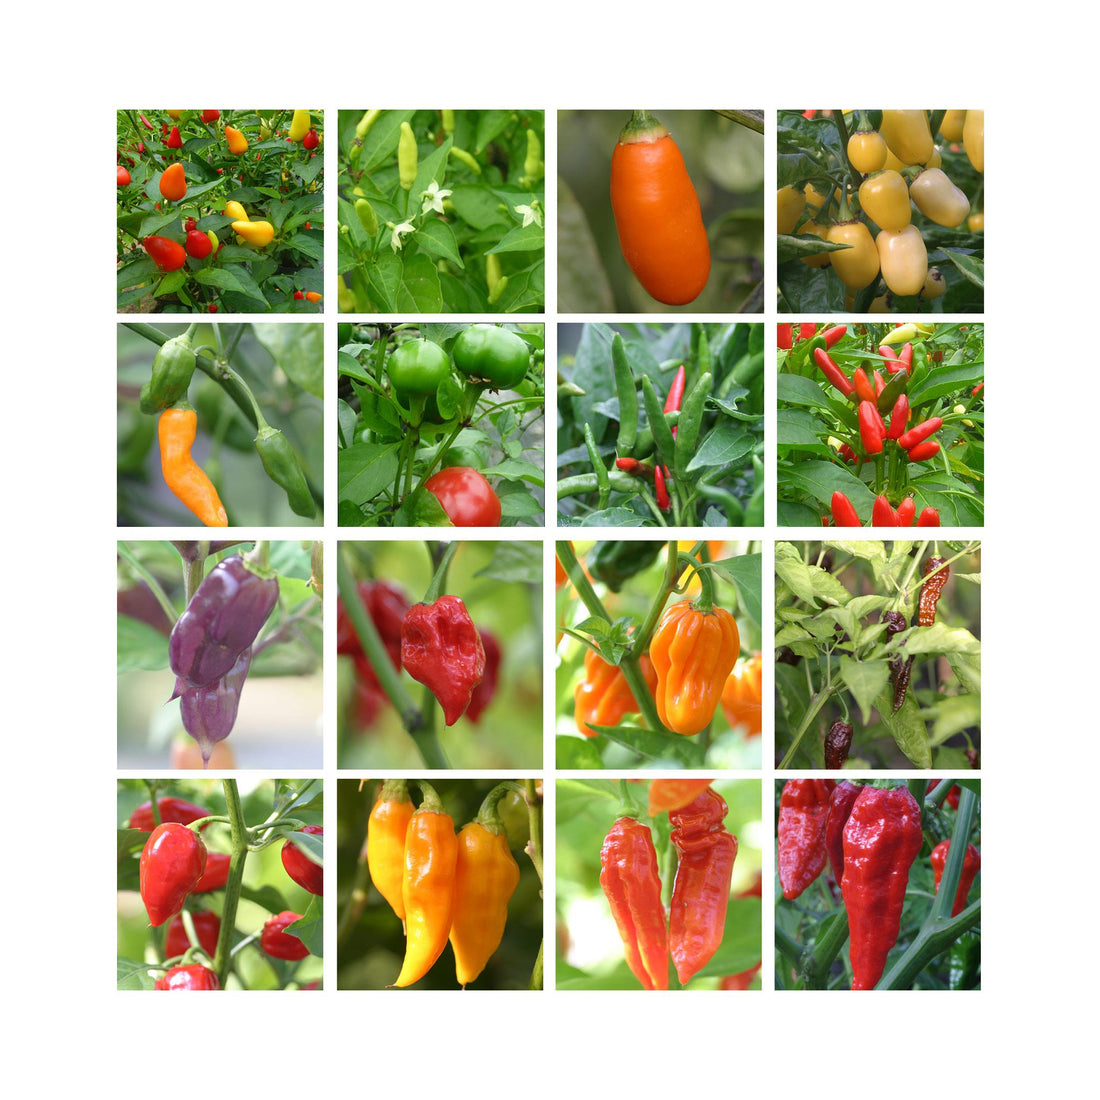
Now is the ideal time to prepare any container you may have. We are beginning to see the signs of frost approaching as we move into winter, so getting your hardier plants into the ground now will allow them to develop strong roots before it gets too cold. It also means you may be in with a chance of saving any tender plants, ready to be replanted in the spring.
What You’ll Need:
-
A planted container
-
Compost
-
A second, empty container
-
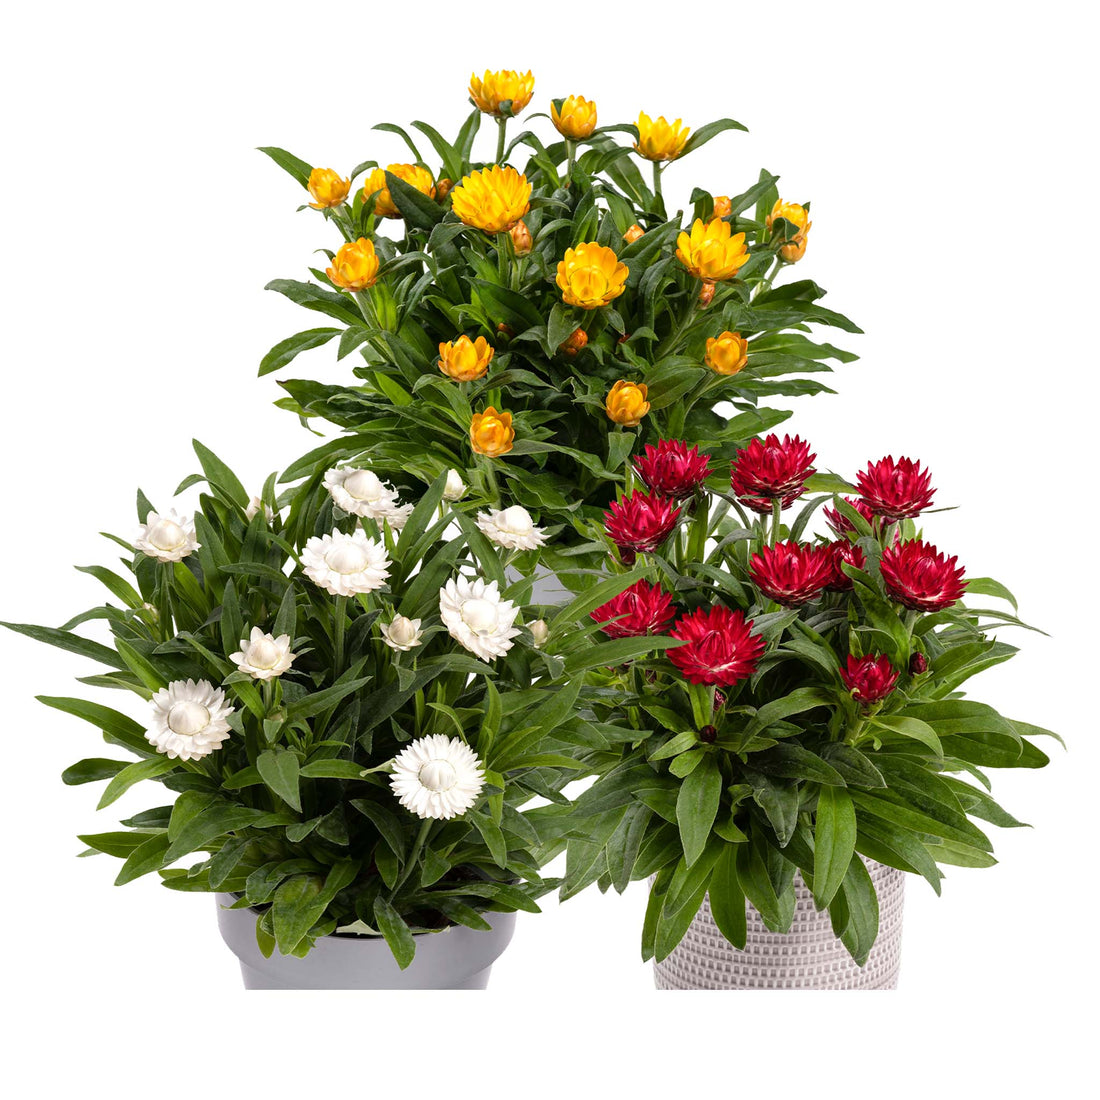
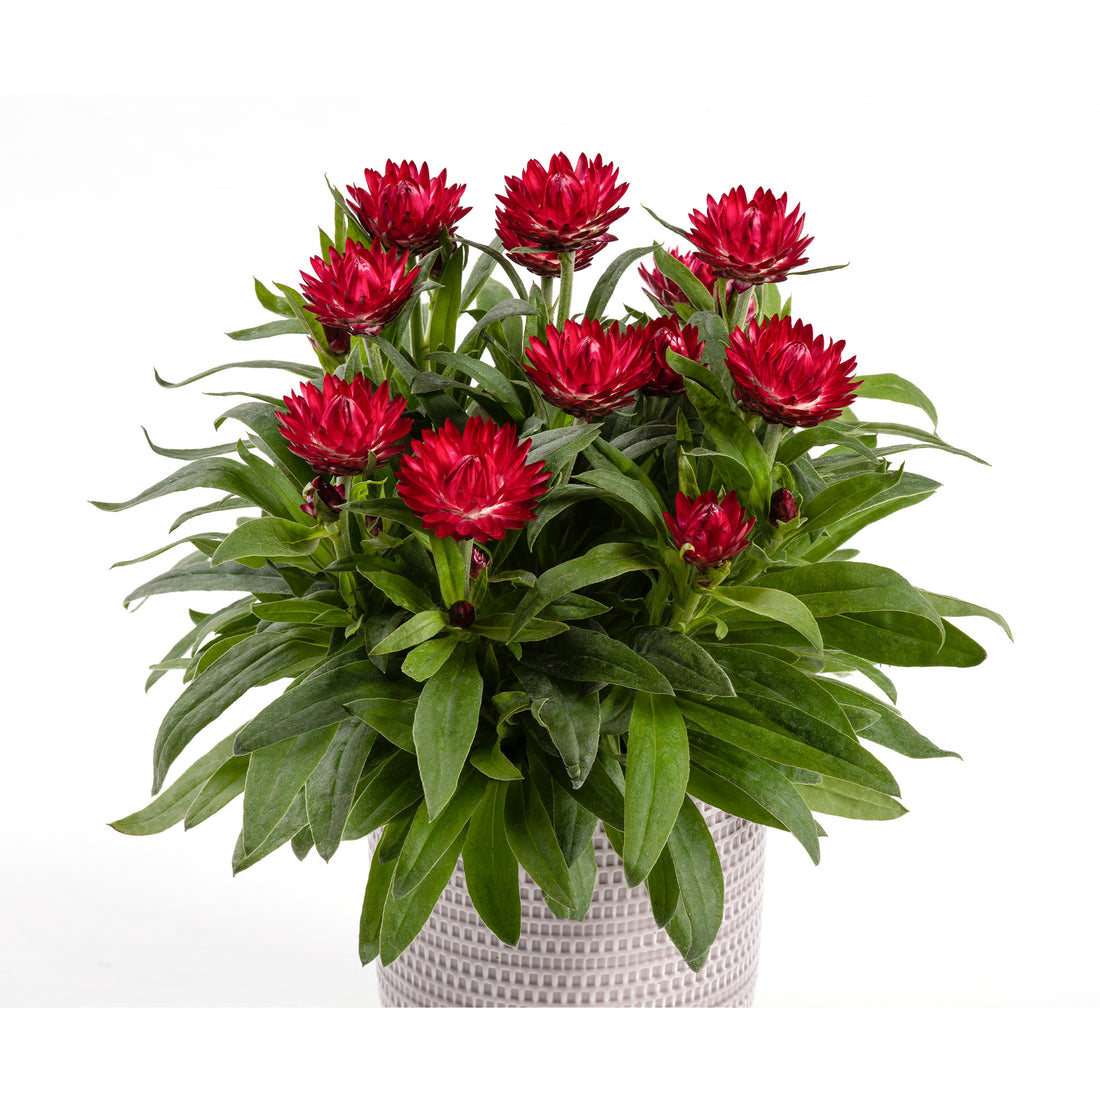
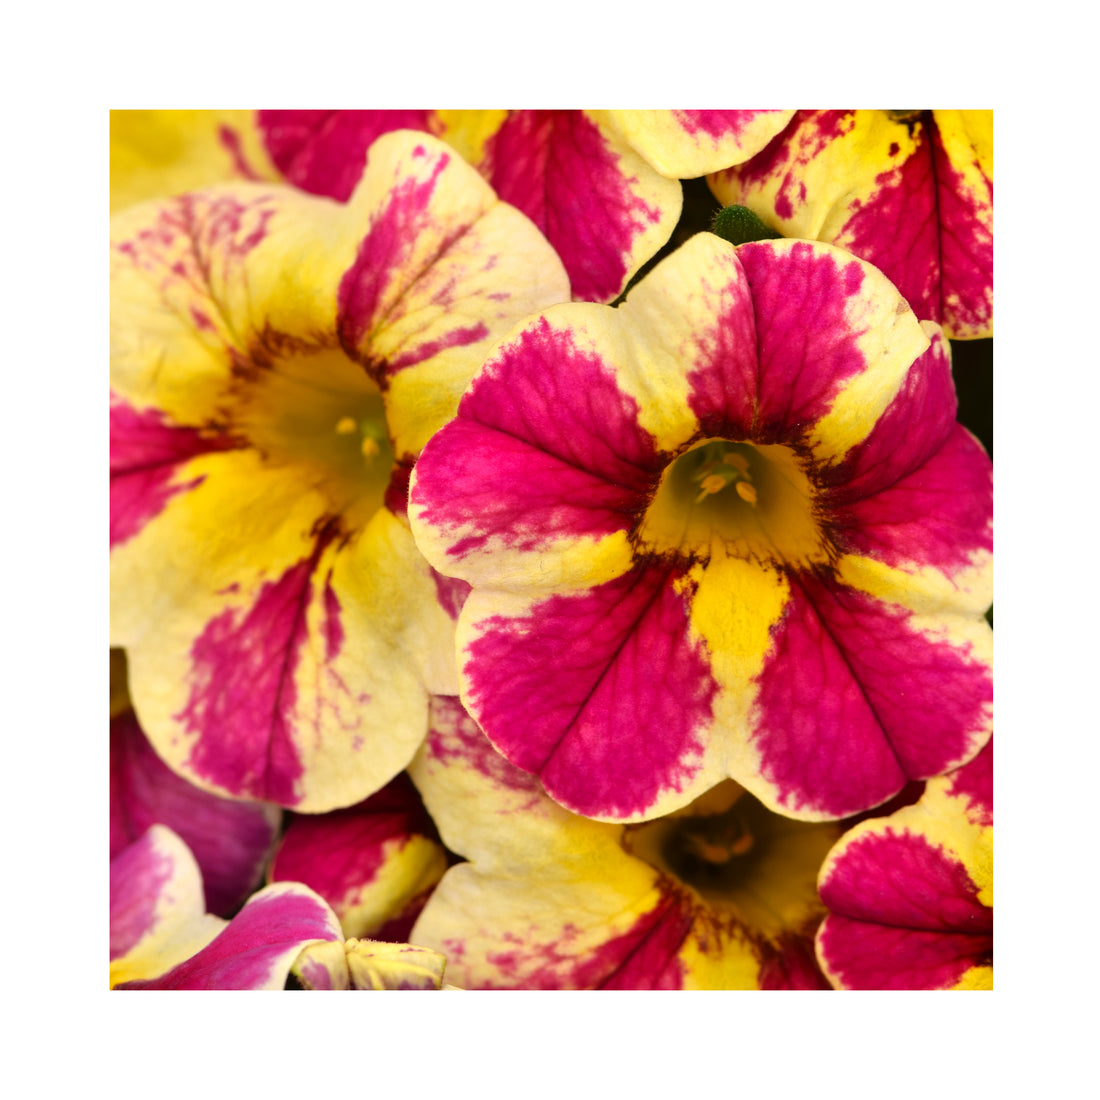
A selection of hardy plants
Step-by-Step:
- Dig in and around the plants you want to remove, carefully pulling them free.
- Place them into a second container and top up with compost, or discard.
- Remove any dead leaves or foliage to improve airflow and make room for your new plants
- Arrange your new plants in the gaps left by the removed plants.
- Top up any gaps with compost.
- Take your remaining tender plants inside, give the container a good water, and enjoy!
Aftercare:
Keep the tender plants in a frost-free place if you wish to keep them for next year. Make sure you maintain both the tender plants and the container itself to maximise the amount of blooming time you get from your new plants, and maximise the chance of your tender plants blooming again next year.