
5 Minute Friday: Planting Astilbes in Containers
Hi, and welcome to today’s 5 Minute Friday blog! Today, we’re planting up Astilbes into a container. They’re fantastic plants for containers and work really, really well in shady spots in the garden. They’re also great for balconies and patios—classic plants that deserve a place in your space.
🌸 Why Astilbes?
Astilbes are herbaceous perennials, native to Asia and North America. They thrive in semi-shady spots and bring a burst of colour to areas where it can be hard to find good flowering plants. Their fern-like leaves have a feathery appearance, creating a lovely soft texture—so it’s not all about the flowers; the foliage adds interest too.
Astilbes are especially valued for:
-
Shade tolerance – perfect for those dark corners in your garden.
-
Moisture-loving nature – they enjoy damp, but well-drained soil.
-
Long-lasting flowers – blooms appear from late spring into summer.
-
Low maintenance – they don’t need much deadheading and will come back year after year.
🌿 Caring for Astilbes
Astilbes are hardy, reliable, and thrive in the UK climate. Here’s how to keep them happy:
-
Light: They love partial shade but will cope in full shade. They can tolerate some morning sun, but avoid very hot, sunny spots.
-
Compost: Use a moisture-retentive mix—something with leaf mould or organic bark is ideal.
-
Watering: Keep the compost consistently moist—Astilbes hate drying out, especially in hot weather.
-
Feeding: They’re not particularly hungry plants, but a slow-release fertiliser is perfect. I’m using a compost that already has a slow-release feed mixed in, but if yours doesn’t, you can use a liquid feed every 4–6 weeks.
-
Winter care: In containers, protect the roots by wrapping the pot in very cold weather, or move it to a sheltered spot. If your Astilbes are in the garden, they’re usually fine left out all year in the UK.
🪴 Step-by-Step: Planting Astilbes in a Container
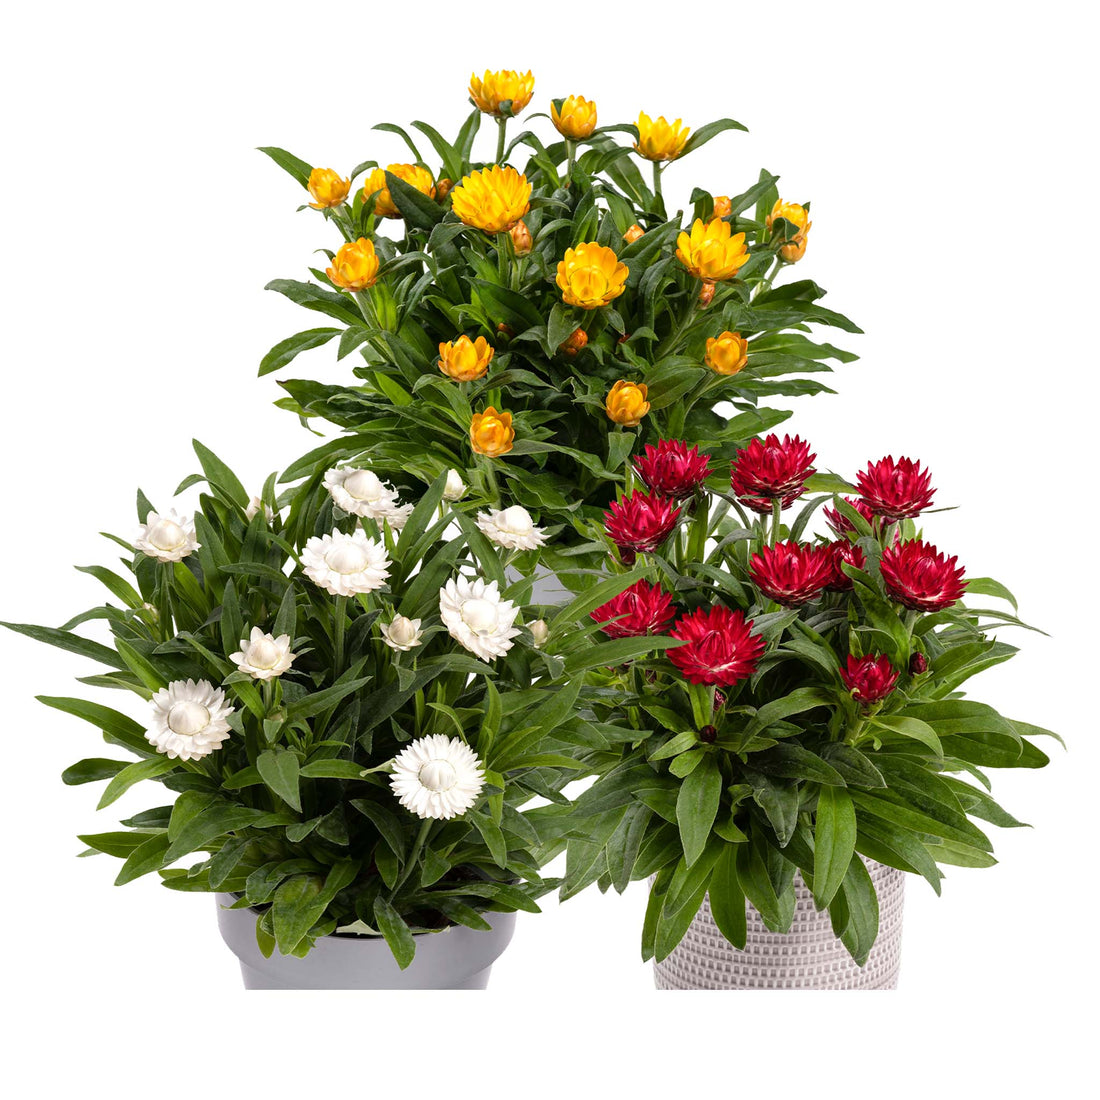
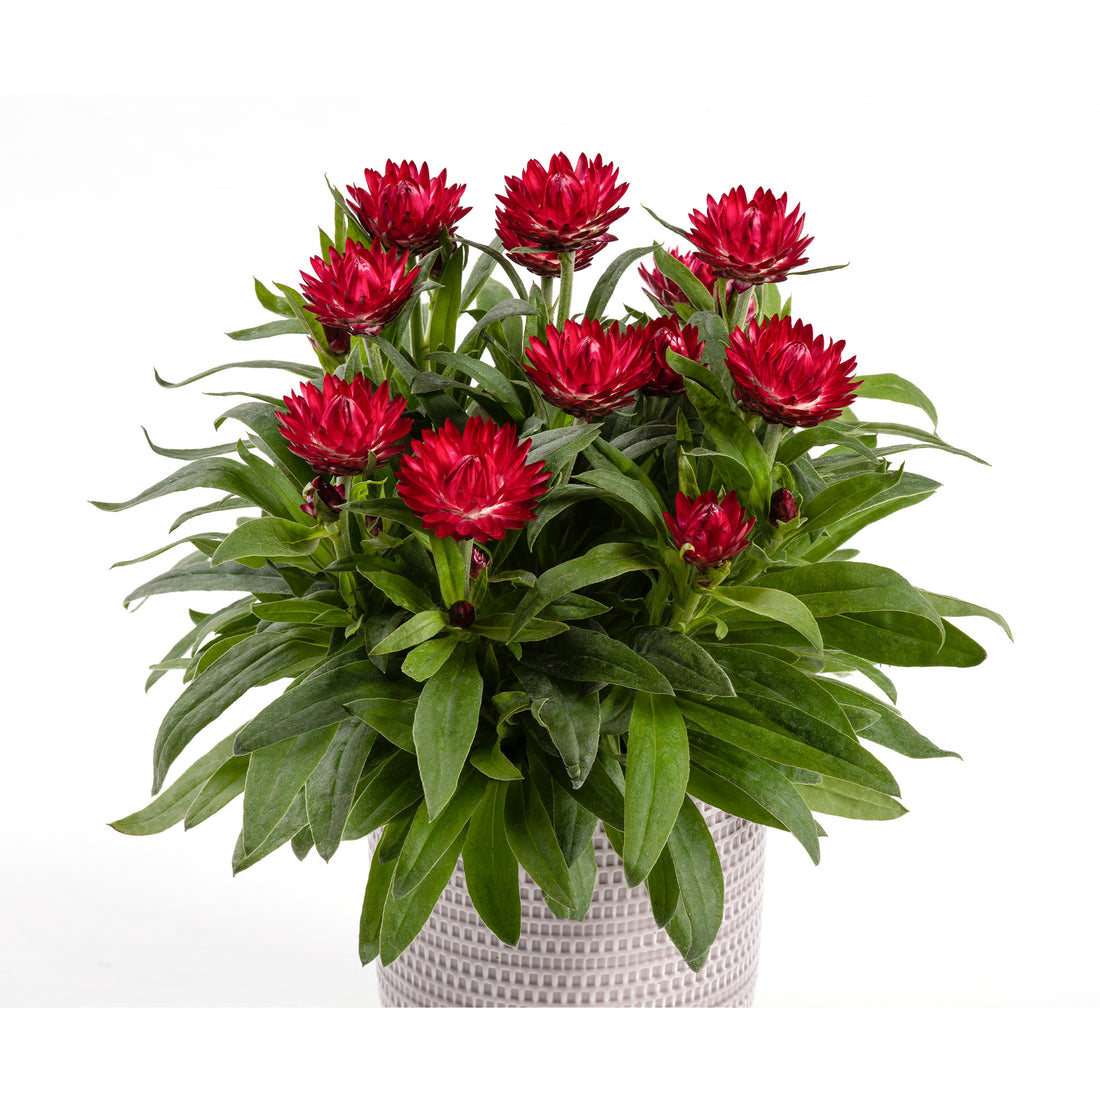
Let’s create a beautiful container with white, ruby red, and salmon Astilbes.
What you’ll need:
-
A large, deep container with drainage holes (mine is about 30 cm across)
-
Good quality, moisture-retaining compost (I’m using one with bark to help hold moisture)
-
A slow-release fertiliser (this might already be in your compost, or you can add slow-release pellets)
-
Optional mulch (like gravel or bark) to help lock in moisture
Planting guide:
-
Prep the container
Fill it about three-quarters full with compost, leaving a gap at the top. I’m leaving around 9 cm, as my Astilbes are in 9 cm pots. Adjust the gap depending on your pot size. -
Remove the plants
Gently squeeze the pots, tip them upside down, and lift them off the compost. -
Arrange the plants
Place the three Astilbes in a triangle pattern on top of the compost. With three different colours, it doesn’t matter which one goes where—just mix them up for a nice effect. -
Fill in the gaps
Backfill with more compost, bringing it up around the plants and towards the top of the container. -
Water well
Give the container a good soak. Water gently over the top, let it sink in, then repeat until water runs out of the base.
🌸 Enjoy the Show
Your Astilbe container will reward you with plumes of colour from late spring right through to summer. After flowering, you can deadhead them if you like. The seed heads add lovely texture into autumn. And the best part? These plants get better year after year—so don’t throw your container away! Keep enjoying your Astilbes for many seasons to come.